- Blogs
- Victorian House Insulation. The Laymans Guide
Victorian House Insulation. The Laymans Guide
Victorian homes, known for their timeless architecture and craftsmanship, are a staple in the UK housing landscape. However, these homes were built at a time when insulation was not a priority, as cheap coal allowed for continuous heating, and ventilation was seen as more crucial for preventing dampness.
With rising energy costs, insulating Victorian houses has become necessary to maintain comfort and reduce energy bills. This guide explores the best ways to insulate a Victorian property, addressing common pitfalls, high-impact strategies, and the materials that work best for these unique structures.
Historical Context and Building Physics
Victorian houses, generally built between 1837 and 1901, were designed with a focus on ventilation and moisture management, not heat retention. During this era, homes were intentionally built to “breathe,” allowing moisture generated by large households and activities like cooking and washing to escape. Inexpensive coal made it affordable to heat homes continuously, so builders prioritized structural stability over insulation.
The original solid brick walls, high ceilings, single-glazed sash windows, and suspended timber floors common in Victorian homes were not intended to keep heat in but to facilitate airflow and prevent dampness. This historical context is key to understanding the unique challenges faced when retrofitting Victorian properties to improve their energy efficiency.
Key Principles for Insulating a Victorian Property
When insulating a Victorian house, certain guiding principles help balance comfort, cost-effectiveness, and preservation: 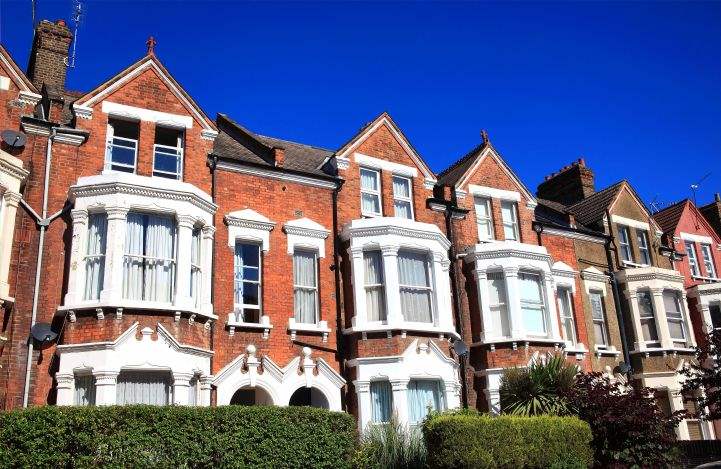
- Start with Quick Wins: Focus on areas where insulation can yield immediate benefits with minimal disruption, such as the loft, windows, and exposed pipes.
- Respect Building Physics: Victorian homes were built to breathe, meaning they naturally allow moisture to escape. Modern insulation needs to work with this characteristic, allowing airflow where possible to prevent moisture buildup.
- Choose the Right Materials for Each Area: Materials like breathable wood fibre or sheep’s wool help maintain the home’s moisture balance, especially for internal walls.
- Consider Moisture Movement: Victorian homes rely on moisture movement to prevent damp, so moisture barriers must be thoughtfully placed to manage internal and external moisture without trapping it inside.
Common Pitfalls to Avoid in Insulating Victorian Homes
Insulating a Victorian home requires careful consideration to avoid issues that can lead to structural damage and discomfort:
-
Using Non-Breathable Modern Materials: Materials like plastic vapour barriers can trap moisture in solid brick walls, causing condensation and mould. Victorian homes require vapour-permeable materials that allow for natural air and moisture movement.
-
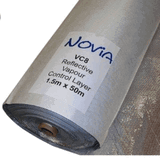
Incorrect Placement of Vapour Barriers: Vapour barriers should only be placed to prevent moisture ingress from warmer areas to cooler ones. Misplaced vapour barriers can trap moisture behind insulation, risking rot and decay. Proper placement is essential to ensure that moisture has a clear path to escape. Vapour Control layers should be utilised instead of vapour barriers, as they allow trapped moisture to escape.
-
Over-Insulating Without Ventilation: As Victorian homes were built to allow airflow, too much insulation (especially in the loft) without sufficient ventilation can lead to condensation and dampness. Including ventilation solutions, like trickle vents or Positive Input Ventilation (PIV) systems, ensures proper air circulation, especially in rooms prone to humidity, such as bathrooms and kitchens.
-
Ignoring original construction techniques, such as those used in Victorian terraces, can lead to inefficiencies.: Victorian homes use lime mortar and solid walls that are permeable to moisture. Modern insulation techniques can clash with this if they fail to account for the home’s original construction methods, leading to costly repairs down the line. When insulating walls, it’s important to avoid methods that disrupt the home’s natural moisture balance.
Professional Considerations for Victorian House Insulation Projects
For insulation projects on Victorian properties, hiring contractors experienced with period homes is essential. A contractor who understands Victorian construction will follow PAS 2035 standards, which provide guidelines for retrofitting and insulating older buildings with respect for ventilation, breathability, and structural integrity. This "whole-house approach" considers how each part of the house interacts, ensuring that improvements in one area don’t inadvertently create problems elsewhere.
Victorian properties are unique, often requiring customized insulation approaches based on specific conditions. Therefore, it’s important to ensure that contractors are familiar with building regulations and planning permissions, especially for changes like external wall insulation.
Costs and Investment in Victorian House Insulation
Understanding potential costs for various insulation projects helps in planning and prioritizing work effectively:
-
Low Cost, High Impact: Loft insulation, draught-proofing, pipe lagging, and cellar ceiling insulation provide immediate benefits with relatively low costs.
-
Medium Cost, Good Returns: Floor insulation, secondary glazing, and underfloor insulation offer higher returns on investment but require moderate upfront costs.
-
High Cost, Maximum Impact: External and internal wall insulation, and complete floor replacements are the most impactful but come at higher costs. External wall insulation can range from £100-£200 per square meter, while internal wall insulation costs between £50-£100 per square meter.
Understanding these costs helps to prioritize insulation work according to budget while gradually improving energy efficiency.
Quick Win Areas for Insulating Victorian Homes
To make immediate improvements in comfort and energy efficiency, focus on these “quick win” areas: 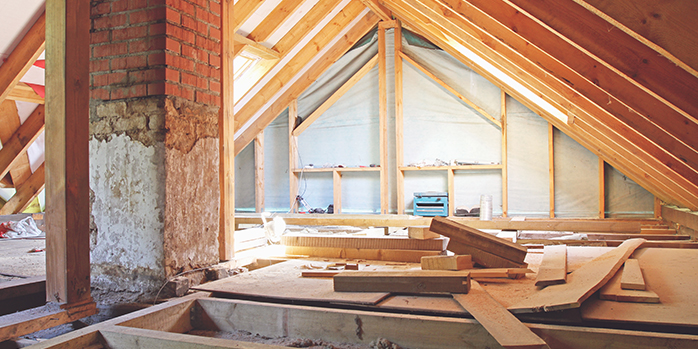
1. Loft and Attic Insulation
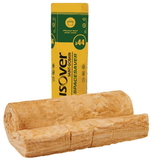
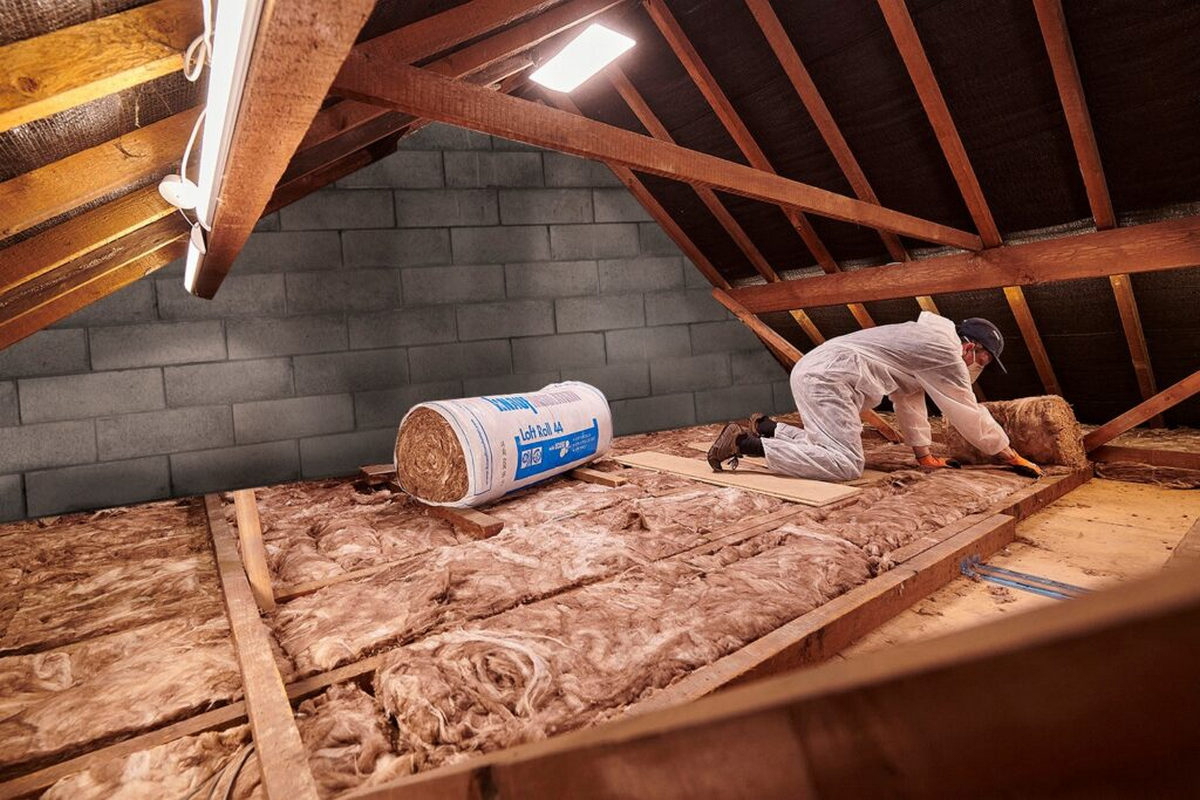
The loft is often the most cost-effective place to insulate, as heat naturally rises and escapes through the roof. Adding 270mm or more of mineral wool insulation between and above the joists can make a significant difference in heat retention.
However, it’s essential to maintain airflow by keeping soffit vents open and free from obstruction. Utilising felt vent inserts can help moisture escap also.
Blocking ventilation in the loft can lead to condensation issues, especially in winter. Mineral wool or sheep’s wool are ideal here due to their breathability, ensuring moisture doesn’t get trapped in the insulation.
2. Draught-Proofing Windows and Doors
Draught-proofing reduces heat loss by sealing gaps in windows, doors, and floors. Victorian sash windows, for example, often have gaps that allow draughts. Installing weatherstripping around windows and doors, using heavy curtains, and placing draught excluders on external doors can make a noticeable difference. Adding thick rugs on timber floors also helps insulate rooms, especially if the floors are suspended timber with gaps that allow air to circulate.
3. Pipe Insulation
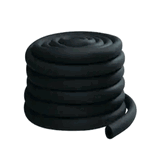
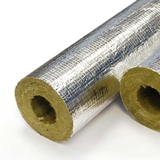
Exposed pipes in basements, attics, and unheated spaces lose heat quickly, which means hot water pipes can lose warmth before reaching taps or radiators. Adding pipe lagging, a simple insulating sleeve, around exposed pipes reduces heat loss, helping to keep water warmer and preventing pipes from freezing in cold weather. This affordable solution is often overlooked, but it can reduce both energy usage and the risk of frozen pipes.
4. Chimney Insulation
Unused chimneys can allow heat to escape and cold air to enter. Blocking draughts in chimneys is straightforward with chimney balloons, inflatable devices that block airflow while maintaining the traditional look of the fireplace.
Another option is a chimney sheep, made of sheep’s wool, which provides insulation in the chimney while remaining removable if you wish to use the fireplace occasionally. Both options are easy to install and prevent significant heat loss, especially in a terrace house.
5. Cellar Ceiling Insulation
Insulating the ceiling of a cellar or basement helps keep ground floors warm by preventing cold air from rising. A breathable insulation material like mineral wool in the cellar ceiling between the joists, stops draughts from circulating upward and can improve the warmth of rooms directly above.
Medium-Cost, Medium-Effectiveness Solutions
If you’re ready to invest a little more in insulation, these solutions provide added warmth and comfort:
Underfloor Insulation in Suspended Timber Floors
Victorian homes often have suspended timber floors, which create space for airflow but can lead to draughts and cold floors. If you can lift the floorboards, you can install insulation between the joists using mineral wool or other breathable insulation. Adding a breathable membrane beneath the joists will maintain air circulation, reducing the chance of damp.
Additionally, placing rugs or carpets with insulating underlays on suspended timber floors provides an extra layer of warmth and is a quick solution if you’re not able to access the floorboards easily.
High-Impact, High-Cost Insulation Solutions
For a more comprehensive insulation upgrade, consider these methods, which involve higher costs but can greatly improve energy efficiency:
External Wall Insulation (EWI)
External wall insulation involves placing insulation on the outside of the home, which is then covered with a weatherproof, breathable render. This type of insulation offers excellent thermal performance, protecting the brickwork from external weather while keeping interiors warm.
While EWI is highly effective, it requires scaffolding, changes the external appearance of the house, and can be disruptive to install. Listed buildings or homes in conservation areas may also need planning permission for external insulation, so always check local regulations before starting.
Internal Wall Insulation (IWI)
Internal wall insulation is a good alternative if external insulation isn’t feasible. Using materials like wood fibre boards allows walls to retain their breathability, helping prevent moisture buildup. Insulating internally means some disruption, as furniture must be moved, radiator pipwork and electrical sockets must be extended and dust is created during installation.
If its not feasible to do the whole house in one go, it would be better to do a room at a time, minimising disruption in the rest of the house.
While IWI doesn’t affect the exterior, it does slightly reduce room space. Nonetheless, it’s an effective way to improve thermal performance while keeping the building’s original look intact.
Materials and Installation Techniques for Victorian Properties: Considerations, Suitability, and Moisture Management
When insulating Victorian homes, selecting and applying the right materials is essential for maintaining the building's structural integrity and ensuring proper moisture management.
While some modern materials may be suitable with specific applications, they must be used carefully to prevent moisture from being trapped in the building’s solid walls, which were originally constructed to breathe. Here’s a guide on materials that require specific treatment and moisture management techniques, particularly when using external wall insulation (EWI).
 Best Insulation Materials for Victorian Properties
Selecting the right materials is essential for effective insulation that doesn’t compromise the home’s breathability:
- Rockwool: Suitable for sound and thermal insulation, Rockwool is also vapour-permeable, allowing for moisture movement while insulating. Ideal for between joists in floors or roof spaces.
- Sheep’s Wool: Naturally breathable and environmentally friendly, sheep’s wool works well in lofts and suspended timber floors.
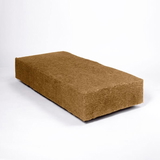
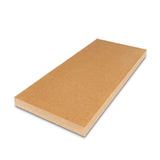
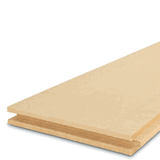
- Wood Fibre Boards: Especially suitable for internal walls, wood fibre insulation boards offer breathability and thermal efficiency, reducing the risk of trapped moisture.
- Hemp Insulation: Another natural, breathable material suitable for walls or floors, hemp insulation aligns well with the permeability of Victorian walls.
- Vapour Control Layers (VCLs): VCLs are not insulation but essential for managing moisture, especially when placed between insulation and living spaces to prevent condensation buildup.
Materials That Require Special Consideration
-
Foam Insulation Boards (PIR/EPS/XPS)
- Considerations: PIR,EPS and XPS are non-breathable and can trap moisture in Victorian walls, leading to dampness if used without proper moisture control.
- Suitable Applications: Polystyrene can be effective for concrete floor insulation, where breathability is less critical. EPS is not as breathable as materials like mineral wool or wood fibre, which are preferred for period properties requiring higher permeability. Hybrid systems—combining EPS with mineral wool at the wall base or other highly exposed areas—can enhance breathability and insulation effectiveness.
- Essential Moisture Management: Always incorporate a damp-proof membrane (DPM) when used in floor applications and a ventilated cavity with vapour control layers when applied externally on walls.
-
Dense Vinyl and Plastic Flooring
- Considerations: Dense vinyl and plastic flooring can trap moisture in the subfloor, especially over suspended timber floors, which can lead to rot if not ventilated.
- Suitable Applications: When paired with adequate vapour barriers and subfloor ventilation, vinyl flooring can be suitable. Ensure subfloor ventilation to avoid moisture buildup, and consider modern vinyl products with vapour-permeable underlays.
-
Non-Breathable Wall Paints (e.g., Acrylic-Based Paints)
- Considerations: Non-breathable paints can trap moisture within Victorian walls, increasing the risk of damp.
- Suitable Alternatives: Vapour-control paints may be used in high-humidity areas if breathability isn’t critical. Generally, lime-based or mineral paints are preferable, as they allow moisture to evaporate, preserving the wall’s integrity.
-
Spray Foam Insulation
- Considerations: Closed-cell spray foam is highly insulating but non-breathable, and can trap moisture if improperly installed, leading to rotting timbers.
- Suitable Applications: Should not be installed on most properties, as it may effect the mortgagability of the property
-
Non-Breathable Exterior Renders (e.g., Cement-Based Renders)
- Considerations: Cement renders are highly non-breathable, trapping moisture and potentially leading to internal damp issues and damage to lime mortar.
- Suitable Alternatives: When applying EWI, a water-resistant yet vapour-permeable silicone render is a better option, especially when combined with a ventilated cavity behind the insulation.
Managing Moisture with External Wall Insulation (EWI) for Victorian Homes
Using polystyrene insulation and silicone render for EWI on Victorian properties can be effective but requires careful moisture management. Victorian walls were built with lime mortar, which allows moisture to escape, so covering them with non-breathable materials without additional measures can lead to moisture-related issues.
Does EWI cause problems with damp? 
Properly designed and installed external wall insulation (EWI) should not cause damp. EWI provides an extra layer of weather protection, helping to keep outside moisture from penetrating the building. Generally, any risk of damp arises from internal moisture rather than from external sources.
Damp can develop through "interstitial condensation," a process where warm, moist air within the building hits a cold surface, releasing moisture, especially in colder months. The temperature at which condensation occurs is referred to as the "dew point."
Adding a substantial layer of insulation to the outside of an uninsulated solid wall shifts the dew point beyond the masonry onto the surface of the EWI. This setup helps keep internal walls dry by allowing trapped vapours to condense outside the building. However, inadequate insulation in areas like window or door openings or around external fixtures can create cold bridges. These bridges allow condensation to form within the wall, potentially leading to damp patches indoors.
Certain types of EWI can block trapped moisture from escaping, potentially leading to damp buildup behind the insulation boards. Over time, this can cause the insulation to deteriorate and lead to interior dampness.
To prevent damp, avoid cold bridges and ensure a consistent layer of insulation across the wall. Open-cell, breathable EWI systems enable trapped moisture to evaporate to the outside, while closed-cell, non-breathable systems may require internal vapor barriers to limit moisture entering the wall. Effective heating and ventilation are essential to managing internal moisture levels.
Existing Solid Walls and Dew Points
Uninsulated solid walls lack a dew point but suffer from high heat loss. Adding EWI introduces a dew point outside the masonry. However, gaps or low-insulation areas can shift this dew point into the masonry, potentially causing damp.
What Type of EWI is Best for Solid Walls?
Wood fibre EWI systems are generally the best fit for traditional solid walls. Older buildings, especially pre-1930 structures, are designed to "breathe," allowing moisture to pass freely between the interior and exterior. Insulation systems that complement this design help prevent damp and other issues over time.
Wood fiber or cork insulation provides excellent weather protection while allowing warm, moist air to evaporate safely during colder months. A permeable internal finish, like breathable paint on lime plaster, further aids moisture transfer, enabling vapor to evaporate inside during summer.
Wood fiber and cork insulation options also have a low ecological footprint, making them sustainable choices. In contrast, closed-cell plastic foam panels offer strong thermal and weather protection but may hinder moisture escape, making good home ventilation even more crucial.
If considering EWI, consult an expert to ensure the system best suits your building's specific requirements.
Here are steps to manage moisture effectively when using polystyrene and silicone renders on Victorian homes:
-
Use a Vapour-Permeable Silicone Render
- Why: Silicone renders are available in vapour-permeable forms, allowing some moisture vapour to escape while preventing water ingress.
- How: High-quality vapour-permeable renders allow controlled moisture movement, keeping the wall dry without trapping water against the brickwork.
-
Proper Detailing Around Openings and Edges
- Why: Windows, doors, and rooflines are points where moisture can accumulate if not properly detailed.
- How: Use high-quality flashing, drip caps, and sealing around windows and doors to direct rainwater away. Install drainage channels or “weep holes” at the base and top of the insulation to allow trapped moisture to escape.
-
Use Breathable Interior Finishes
- Why: To manage internal moisture effectively, avoid non-breathable finishes that trap moisture within the wall structure.
- How: Use lime-based or mineral paints on internal walls to ensure moisture can escape, especially if EWI has been applied externally. This prevents moisture buildup between insulation layers.
-
Regular Maintenance and Inspection
- Why: EWI systems need ongoing care to ensure ventilation channels and seals remain functional.
- How: Inspect the render regularly for cracks or damage, and ensure drainage pathways and ventilation channels are clear to maintain effective moisture control.
Insulating Solid Concrete Floors in Victorian Houses 
Victorian homes sometimes have retrofitted solid concrete floors, particularly in kitchens or extensions. To insulate these floors properly, follow these steps:
- Damp-Proof Membrane (DPM): Begin with a DPM on the concrete base to prevent ground moisture from reaching the insulation.
- XPS or PIR Insulation Boards: XPS boards work well as they provide a moisture-resistant layer with adequate compressive strength to support a subfloor.
- Subfloor (Plywood is Ideal): Use plywood, preferably 18mm or thicker, on top of the insulation to create a stable base for the final flooring.
- Vapour Control Layer (VCL): Add a VCL over the plywood to block moisture from the living space from entering the insulation.
- Final Floor Finish: Lay engineered wood, tile, or lino over the subfloor, ensuring expansion gaps for movement.
This setup protects the insulation from moisture on both sides, preserving its effectiveness and structural integrity.
Ventilation: Essential for Victorian Homes
Effective insulation requires proper ventilation to prevent moisture problems. Victorian homes rely on airflow to manage indoor humidity, so installing insulation can inadvertently trap moisture. Consider these ventilation solutions:
- Trickle Vents and Extractor Fans: Increase air circulation in areas with higher moisture levels, such as kitchens and bathrooms, with extractor fans and trickle vents.
- Positive Input Ventilation (PIV): PIV systems draw fresh air from outside, reducing moisture in the home and helping to maintain air quality.
- Air Bricks and Vents: Ensure that existing air bricks remain open, particularly under suspended timber floors, to maintain airflow in critical areas.
Cost-Effective Victorian Insulation Hierarchy
Low Cost, High Impact:
- Loft insulation
- Draught-proofing
- Basic pipe insulation
- Cellar ceiling insulation
Medium Cost, Good Returns:
High Cost, Maximum Impact:
Final Thoughts on Insulating a Victorian Period Property
Insulating a Victorian home requires a thoughtful approach that balances modern efficiency with historical preservation. Start by focusing on low-cost, high-impact areas like the loft and draught-proofing to gain immediate benefits. Use breathable materials to respect the home’s original design, and ensure proper ventilation throughout to prevent moisture issues. For larger projects, consider external or internal wall insulation to achieve greater thermal efficiency without compromising the home’s charm.
By carefully choosing the right materials and installation methods, you can create a warm, energy-efficient living space that maintains the character and structural integrity of your beloved Victorian home.

Samuel Hitch
Managing Director
Buy Insulation Online.
Leave A Reply
Your feedback is greatly appreciated, please comment on our content below. Your email address will not be published. Required fields are marked *
